Morning Everyone
Sorry I've been AWOL for a few weeks, but I've had my wonderful daughter visiting and I've not seen her for about 6mths due to work and Covid. We spent a wonderful time catching up, baking, cooking and sewing. She's now safely back with her partner, so it's time for me to do a little catching up of my own. As it happens Lili Of The Valley are celebrating their 18th birthday and launching a gorgeous wedding collection on Thursday 12th May.
So today I'm sharing '
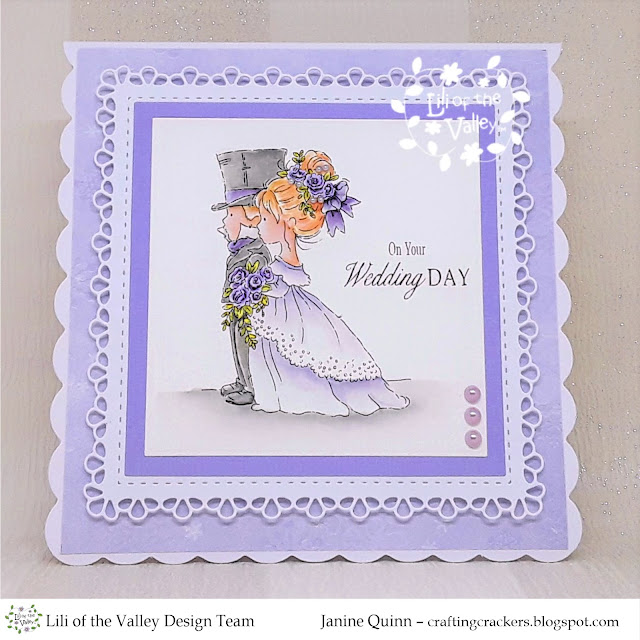
Wedding Bouquet' digi stamp which I coloured with Copic pens. The happy couples names were then added afterwards and foiled. I do plan to create a tutorial about how to foil using a laser printer and laminator, it will either be in a written or video format...or possibly both. When the tutorial is completed I will add it to my Tutorial page (on this blog), the Lili Of the Valley website, and the 'We Love Lili Of Valley' facebook group. The link will be added after the launch.
For your information, here is the link to the
LOTV Etsy Store to check out all the digi stamps
, and the
LOTV online store to check out the rest of their goodies.
Here's What I Did
I cut to size a piece of pretty lilac patterned paper to fit the front of a 5" x 7"card blank, leaving a slim border around the edges.
Using my software I imported the pretty bouquet and wedding date and resized everything to fit my project. The image was printed onto copier paper for placement information later. The image was printed again onto colouring card using my inkjet printer, then coloured in with Copic pens. I left the image/text on screen.
To add the foil -
In my software I added the wedding couple's name 'Emily & Paul' in a script font directly over the bouquet image, then removed the bouquet image. The previously coloured image was taped onto the copier paper where it had been printed out before; this time I printed it out using a laser printer. A piece of gold foil was placed over the top of the printed text and slotted inside a folded piece of copier paper and put through a laminating machine.
When the card was cool I removed the sheet of foil showing off the beautiful foiled text. The image was die cut with an oval die and mounted onto lilac card. Funky foam was added to the back of the completed topper, and then glued to the centre of the card front. To finish the card purple pearls were added to the top and bottom.
Here's What I Used
Copic Pens: Flowers - V01, V04, V12, V15, RV02, RV10, RV13, RV14, Y15, Y38, B00, B02, YG01, YG03, YG17, YG63, YG67
Other: White 5" x 7" Scalloped Card Blank, Make It Colour Card, Lilac Card, 'My Sweet Provence' Paper Pad (Lemoncraft), 'Home Sweet Home' Die Set (Tonic), Gold Foil (Crafter's Companion), Corner Punch, Inkjet & Laser Printer, Laminator, Copier Paper, Removeable Tape, Pearls, Funky Foam, Double Sided Tape
If you wish to ask a question about any of my cards please leave me a message in the comment with your email address, otherwise I cannot contact you. Alternatively email me at jsnine.quinn@gmail.com
Or why not join us on social media at
'We Love Lili Of the Valley' Facebook Group run by the Design Team, the official
Lili Of The Valley Facebook page and on
Instagram. We'd loved to see you.
Please Note - I am part of the Lili Of The Valley's Design Team and I receive their lovely digi images to play with and share with you; I do not receive any monetary reimbursement for my samples, advertisements or my participation. I do, what I do for fun and relaxation. Thank you. xThank you so much for dropping by, and please don't forget to say hi :) I'll be back soon with more sneaky peeks of the fabulous new LOTV Love stamps. TTFN
Hugs
x Janine x


