Thursday 27 February 2014

Sugar Bowl Challenge - Mother's Day/Special Lady

Hi everyone, it seems like ages since I made a card for the The Sugar Bowl. The theme this month is a Mother's Day/Special Lady.

Here's my card or should I say 'pop-up' card.  This is the first time I've made one of these, and loved it.  I used to make exploding boxes years ago, because they were so dimensional and these are the same sort of thing. I've take a few photos of this so you can see the detail, I have to admit it took me best part of a day and half to make but I did have a few hiccups along the way.

Why not join in with us and make a card/project for the special someone in your life, but don't forget your project MUST include a Sugar Nellie stamp or digi stamp - both are available from Funkykits. If you're not sure if your stamp IS a Sugar Nellie stamp either sent me a message with it's name/picture or visit the Sugar Bowl website and send an email to Sugar Mama using the link there.


Here's What I Did
 
UPDATE: I have just included a link to the tutorial I've created on how to make a box  **Sleep warning** it's a bit lengthy sorry, but it does have illustrations. Click here to open, download and/or save it. FYI, if you want to make the box height and/flaps slightly larger or smaller just increase or decease the measurements I've given you. Any questions just email me...have fun! 

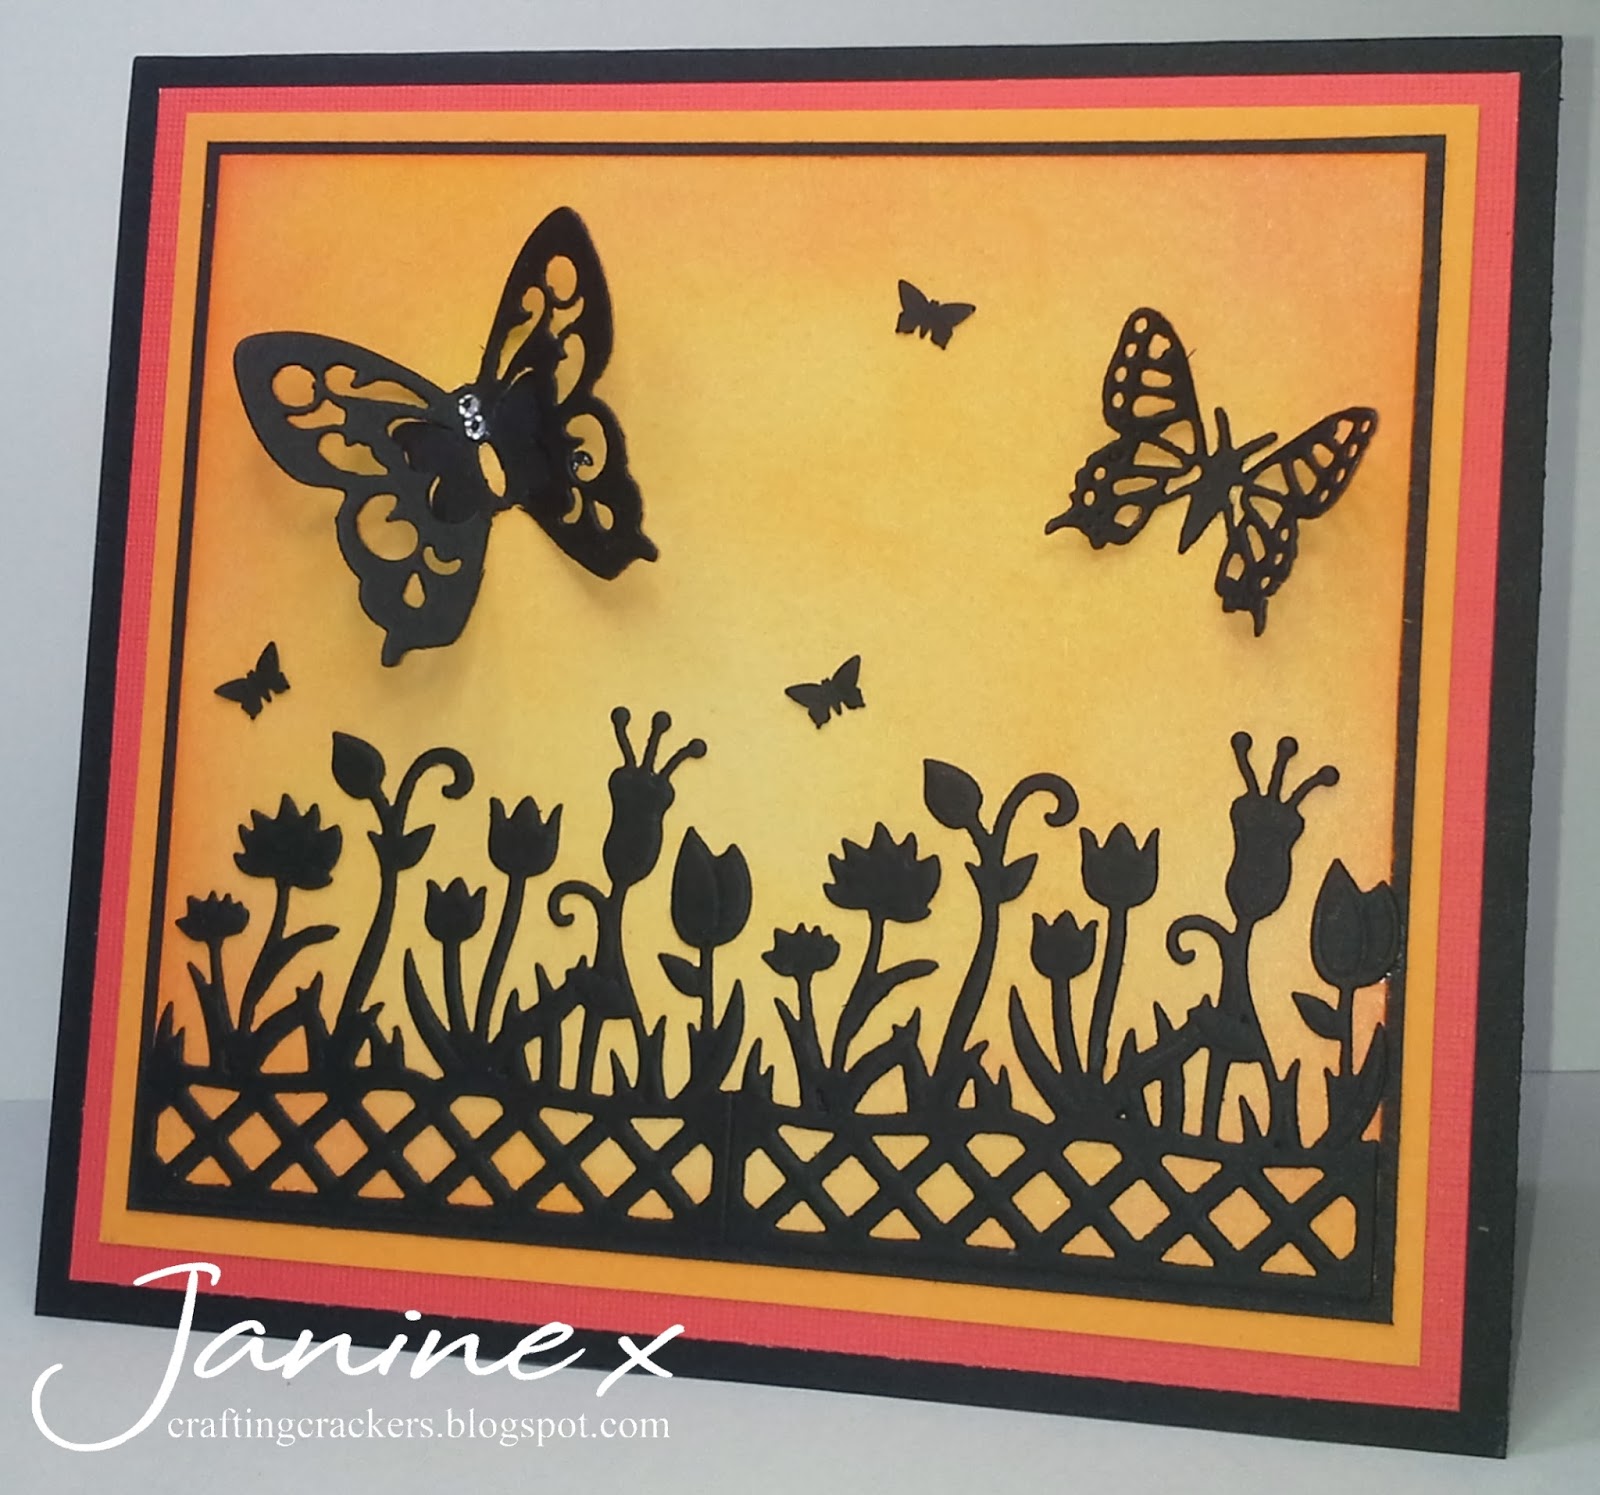
I decorated the box sides and flaps with patterned papers edged with distressing ink. Each strut inside the box was embellished with die cut flowers, butterflies, a sentiment and my sweet Sugar Nellie fairy which I coloured with Copics and with a splash of glitter to her wings. Some of the embellishment were added to the struts themselves and some were taped to acetate strips. The idea is to give the box dimension and interest. The content is supposed to be hidden from view when it's flat but when the recipient 'squares' up the box the content 'pop's up' to give the surprise (as you see above).

Hope you like it. These boxes are all the rage at the moment and are so easy to make, so why not give them a go and make one for the 'special lady' in your life using your favourite Sugar Nellie stamp.

Here's everything I used:
Stamp:  'Live Laugh Love' Sugar Nellie stamp available from Funkykits
Paper/Cardstock (CS): First Edition 'Spring Drop', Papermill Textured Cream CS, Various Coloured CS, Glitter CS
Copics: Skin - E0000, E000, E00, E11, R20, R30 / Hair: YR0000, YR000, YR00, E13, E99 / Dress, Shoes & Flowers - R000, R20, R30, R32, R35 / Wings - G000, G00, G02 
Dies: Die-namics Blueprint 8, Spellbinders 'Rose Creations', Butterfly 'Magazine freebie', XCut 'Bloom' and 'Oval' & 'Scallop Oval', Cheery Lyn Designs' Fanciful Flourish' and 'Exotic Butterfly Small', Tattered Lace 'Embellishments'  
Other: Glitter, Craftwork Cards 'Candi', Acetate, Foam Pads, Inkylicious 'Mother' Sentiment Stamp, Distressing Ink Pad 'Worn Lipstick'

So don't forget to drop by at The Sugar Bowl and have a look at what the rest of my fabulous DT sweeties have created to inspire you; and why not join in with this month's challenge while you're there. It's open to everyone, and the theme is Mother's Day/Special Lady so  come on give it a go. 

You can create anything you like but it MUST include a SUGAR NELLIE STAMP (either rubber or digi) otherwise it will be removed (sorry!).

Have fun, and I look forward to seeing your creations on my return.

Hugs

Janine x

Saturday 22 February 2014

Sweet Stampin Challenge - Humour

Well it's my turn to make a DT card over at Sweet Stampin' once again, and our theme this week is HUMOUR. I'd love you to join us and take part, in the fun - but just remember your project MUST include a stamped element. So to get you in the mood here's fun card for you - I hope you like it.


Here's What I did
Firstly I die cut a circle and created my cloud background using a cut out cloud shapes and some distressing ink. Then stamped the cute cows 3 times and coloured selected areas in, the top sections were fussy cut and layered up onto my cloud circle. I attached my daisy paper to the easel base card, and adhered my cows and clouds to it. To finish off I create and cut out my speech bubble and my grass and attached it to my completed card.

Here's what I Used:
Cardstock/Paper: Kanban Pre-scored Easel Card, Dovecraft 'Springtime' Paper, Green CS, Neenah CS
Copics: R30, R20, R22, R27, R35, Y00, Y02, YO6, Y17, YR0000, YR000, YR00, YR02, C-0,C-1, C-2, C-3
Stamps: Penny Black 'Ladies Devine' Wooden Stamp
Dies: Tonic Layering Circles
Other: Serif CraftArtist 2, Own Sentiment, Distressing Ink 'Tumbled Glass', Fineliner Pen

We hold a weekly challenge with a fantastic prize plus a monthly prize draw for everyone who enters a card/project throughout the month. 
 
So why not drop by Sweet Stampin' Challenge Blog and check out what my fabulous Design sweeties have made to inspire you. So come on why not join in with the fun and enter your card or project into our HUMOUR challenge. This week's sponsor and prize is from CRAFTS U LOVE and the monthly draw sponsor prize is a £10 voucher from Cuddly Buddly.

I look forward to seeing what you create.
 
Edit:
I've entered this card into the following challenge -
Divas By Design Challenge - Rubber Stamps Only
 
Hugs

Janine x

Saturday 15 February 2014

Totally Gorjuss - Lovey Dovey - 223

Love is in the air - and I'm all lovey dovey!!

So with that in mind here's my DT card for this week's challenge over at Totally Gorjuss,.The theme this week is LOVEY DOVEY (obviously).  The is actually my hubbie's Valentine's card - he loved it.


Here's What I Did -
The cream card base is an 8 x 8. The red background card was distressed with scissors and distressing ink, this is not my normal style but I thought I'd give it a go.  I cut a piece of Kraft paper into a large banner and partially rolled the end (this was originally the liner paper rolled inside my Xmas paper - I keep everything lol). I threaded some Bakers Twine down the centre and tied it in a knot with a die cut heart button to secure it.  I tore and distressed the edges and added some distressing inks to age it.  The cute cupid was printed out 4 times, coloured with Copics, cut out and layered up. I die cut the letters and hearts which were attached to the card base along with some Candi.  My cute cupid was such a dream to colour in, but a nightmare to cut out....especially his arms and legs. But it was definitely worth it.

Here's What I Used - 
Digi: Make it Crafty 'Whoopsie Cupid'
Cardstock: Cream CS, Red CS, Paper Pad (Can't remember the name - sorry!), Kraft Paper
Copics: Skin - E0000, E000, E00, E11, E13, R30, R20 / Hair/Undies/Quiver - R32, R35, R37, R46, R59 / Bow Shaft - E33, E35, E57 / Wings - BG000, BG01, BG05, BG09
Dies: XCut Letter Dies 'Centurion', Die-namics Blueprint Dies 3,
Other: Bakers Twine, Glitter Gel Pens, Scissors, Distressing Ink Pads

So why not come along and visit our blog at Totally Gorjuss and check out what my team buddies have made to inspire you. While you're there don't forget to enter your card/project into our weekly challenge - remember it's LOVEY DOVEY. There's a prize up for grabs and this week's sponsors is Dies To Die For.

I can't wait to visit you and see what you make.

No matter where you are keep safe, dry and warm.

Here's the challenges I entered: 

Janine x

Saturday 8 February 2014

I have 2 card for you today Totally Gorjuss & Sweet Stampin' (see below)

Sweet Stampin - Sentiment Only (No Image)

Good morning to you all, I hope you are all safe and well and not in any of the horrible weather black spots at the moment.  But if you are please keep safe!

Well it's my turn over at Sweet Stampin', and the theme this week is SENTIMENT ONLY (NO IMAGE). I'd love you to join us and take part, but just remember your project MUST include a stamped element. So to get you in the mood here's my DT offering for you - I hope you like it.


Here's What I did
I made my own base card from shimmery card. To make my top section I cut and layered my pretty paper onto some orange CS which I made a lot smaller than the actual base card. This was then cut in half and each edge was die cut with my scalloped border die. I stamped my sentiment in place on the base card and attached the top layer with foam tape. To finish off I added the flourish, hearts and some die cut flowers.  The key to this card is knowing where you want your sentiment to be and cutting your top layer to size allowing for the gap in the middle.

Here's what I Used:
Cardstock (CS): Papermill Shimmer CS, Craftwork Cards - Paper Floristry Kit 'Blush Pink', Orange CS
Dies: Spellbinder Border, Sizzix 'Hearts', Cheery Lyn Designs ' Fanciful Flourish'
Stamps: MME -The Sweetest Thing, Papermania 'Lucy Cromwell 'Bunting' 
Other: Flowers from Craftwork Cards - Paper Floristry Kit 'Blush Pink'

 We hold a weekly challenge with a fantastic prize plus a monthly prize draw for everyone who enters a card/project throughout the month. 
So why not drop by Sweet Stampin' Challenge Blog and check out what my fabulous Design Teamies have made to inspire you. So come have a go and enter your card or project into the Sentiment Only (No Image) challenge. This week's sponsor and prize of a £10 voucher is from Craft Ribbons (Ribbon Set) and the monthly draw sponsor prize is a £10 voucher from Cuddly Buddly.

I look forward to seeing what you create.

I've entered my card into the following challenge:

Hugs

Janine x

Totally Gorjuss 222 - Sentiment (Main Focal Point)

Good morning my bloggy friends or is it soggy friends (oops sorry!!)

Well here's my 2nd post of the day, my DT card for this week's challenge over at Totally Gorjuss, The theme this week is SENTIMENT (MAIN FOCAL POINT). 


OMG, I seem to be following a trend of easy peasy lately. Mind you it's great if you want to make a really cheap card. The sentiment layer of this card was designed in CraftArtist 2, printed out and cut down to size.  I then randomly die cut tiny hearts into it.  This was then layered up onto lilac card using foam tape. Tada done!!
Here's what I used.
Cardstock: White, Lilac
Dies: MFT Die-namics Blueprints 3, Tonic Square Layering Die 
Other: CraftArtist 2, Computer Generated Sentiment

So why not come along and visit our blog at Totally Gorjuss and check out what my team buddies have made to inspire you. While you're there don't forget to enter your card/project into our weekly challenge - remember it's SENTIMENT (MAIN FOCAL POINT). There's a prize up for grabs and this week's sponsors is Crafters Companion.

I can't wait to visit you and see what you make.

I've just entered this into the following challenge - 
The Ribbon Girl - Hearts
Papertake Weekly Challenge - Anything goes

No matter where you are keep safe, dry and warm.

Janine x

Saturday 1 February 2014

Totally Gorjuss Challenge - 221 - Sunny Colours

Hi there, from a cold, wet and windy Middlesbrough here in the UK. Wherever you are I hope you're not suffering too much in this awful weather but if you are, my thoughts are with you.

Now onto something bright and sunny - my DT card for Totally Gorjuss, The theme this week is ANYTHING GOES - SUNNY COLOURS. 


You'll love this one, it was so easy. As you know I love Pan Pastels, well this is a PP background made using yellow, orange with a touch of red. This was then matted and layered onto my black base card along with some deep pink and orange card  I added the die cut/embossed flower boxes and the 2 butterflies along with 3 punched out butterflies. To finished it off I attached 2 little gems to the largest butterfly. Easy!!
 
Here's what I used.
Cardstock: White, Black, Orange, Deep Pink
Dies: Cherry Lyn Designs 'Exotic Butterfly Small', Spellbinders 'Flower Box', Large Butterfly (Magazine Freebie)
Pan Pastel - Yellow Dairylide, Orange, Permanent Red
Other: Gems, Mini Butterfly Punch

So why not come along and visit our blog at Totally Gorjuss and check out what my team buddies have made to inspire you. While you're there don't forget to enter your card/project into our weekly challenge - remember it's ANYTHING GOES - Sunny Colours. There's a prize up for grabs and this week's sponsors is The Ribbon Girl.
 
I can't wait to visit you and see what you make.
 
No matter where you are I hope you have a sunny day whatever the weather.
 
Janine x