Good Afternoon
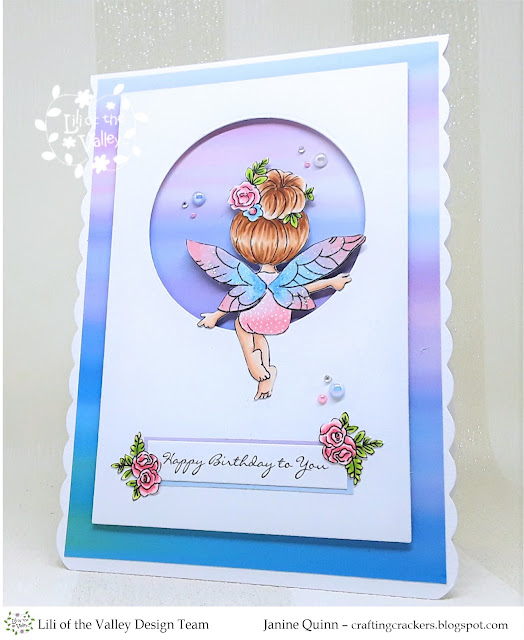
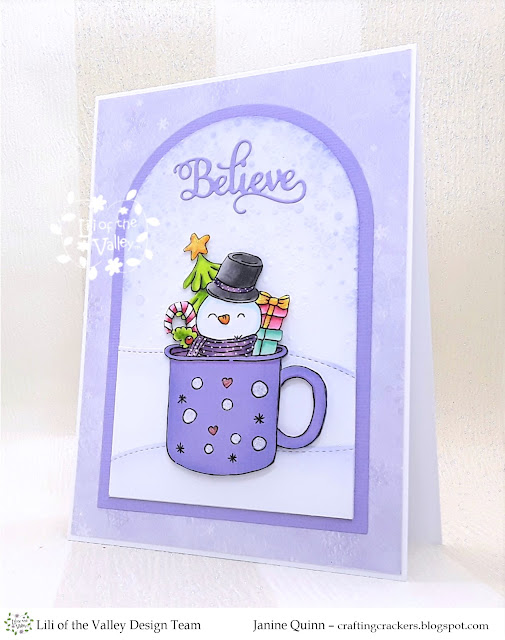
Hi everyone, I'm sharing 2 projects using the new polymer stamps from Lili Of The Valley. We have lots of new polymer stamp sets which launched back in July, which include Christmas and Halloween.
For my project today I decided to make 2 mini books. I was inspired by a lady on You Tube who made a whole collection and I thought I would have a go. I used images from the 'Snowmen' set for the 1st book, and the 'Penguins & Reindeers' set for the 2nd book. I used Copic pens to colour with. I hope you like them all so far.
For your information, here is the link to the
LOTV Online Shop and the
LOTV Etsy Store to check out all the stamps
. FYI you can use both sites to purchase the stamps.
Here's What I Did & Used
The process for both books is exactly the except the binding wires where added down the side of the snowman book, and along the top of the penguin book.
First, I cut 2 pieces of cardboard for the front and back cover - 3" wide x 4" tall, and 2 pieces of Christmas patterned paper 4" x 5" (to cover the cardboard), as well as 2 complimentary pieces of patterned paper cut to 2½" x 3½" to cover the inside flap of the covers.
To make the covers - the cardboard was glued into the centre of the patterned paper, the paper was scored around the cardboard rectangle (to make folding over easier) and the corner were mitred to create the correct angle, then cut off. The sides of the paper were then folded inwards and glued down onto the cardboard; pieces of the complimentary paper was glued over the top off the raw edges to hide them. The finished front and back cover were punched with the Cinch machine.
For the papers inside the book I trimmed down lined index/revision cards slightly smaller than the front and back covers, along with a few pages of pattern paper from the same pad used for the front and back cover. I punched them with my Cinch machine ready for the wires.
Next I stamped the penguin and snowman onto Copic friendly card, coloured them using Copic pens and fussy cut them out, and decorated the front covers with elements from my crafty stash. Once everything was ready I combined the components to create the books using ¾" white wire (pitch 2:1)
Here is a link to the lovely lady whose video tutorial inspired my books. I'm certain her video will be much clearer than my written instructions above, and will be useful if you wish to make your own mini books -- click here to go to her
You Tube video.
Copics:
Snowman - B000, B00, YR04, YR68 / Hat - N0, N2, N4, N6, R05, R27, R46 / Scarf - R05, R27, R46, B01, B14, B16 / Gloves - R05, R27, R46
Penguin - N2, N4, N6, Y15, E000, YR00, YR04, 0 / Hat - B00, B12, B14, B16
Other:
Cardboard, 'Make It Colour' Card, White Card, White & Coloured Index Card 6" x 4", 'Snowy Christmas' Paper Pad (The Works), White & Red Glitter Card, Blue Card, 'Swirly Christmas Tree' Die (Branded But Unknown), Scenic Border Die Set (Crafter's Companion), 'Happy Christmas' and 'Christmas Wishes' Die Sets (The Range), 'Holly & Swirls 'Peace' Frame Die Set (Sweet Dixies), Gem, Red Star, White Pen, Glitter, Cinch Machine, White ¾" Wire (Pitch 2:1) Double Sided Tape, Foam Pads, Black Ink, Glue
If you wish to ask a question about any of my cards please leave me a message in the comment with your email address, otherwise I cannot contact you. Alternatively email me at jsnine.quinn@gmail.com
Or why not join us on social media at
'We Love Lili Of the Valley' Facebook Group run by the Design Team, the official
Lili Of The Valley Facebook page and on
Instagram. We'd loved to see you.
Please Note - I am part of the Lili Of The Valley's Design Team and I receive their lovely images to play with and share with you; I do not receive any monetary reimbursement for my samples, however on occasion I receive a free stamp set as a thank you gesture for my advertisements or participation. I do, what I do for fun and relaxation. Thank you. xThank you so much for dropping by, and please don't forget to say hi :) I'll be back soon with more sneaky peeks of the fabulous new LOTV Love stamps. TTFN
Hugs
x Janine x


