Hi everyone
Well today I'm doing a little Guest Designing for Craft Consortium. Yay! I offered to colour up some of the stamps from the 'Candy Christmas' collection that's just launched. The collection was created in partnership with the super talented Helz Cupperditch. Helz is the wonderful talent behind the 'Snomes', 'Sandy Paws', 'Polar Playtime' collections. The collection is full of cute gingerbread people and their houses plus a few snow peeps thrown in. There are also complementary paper pads, 3D decoupage sets, chipboard ephemera and much more....see the link below.
I've made 2 cards using the 'Candy' stamp set and coloured them up using Distress Re-inkers and pads. I've written up how I did each one and all the products I used. I have another stamp set to share with but I'm off on my hollibobs soon so I will share my creations when I return. :)
This collection and other collections are available from the Craft Consortium's website and good craft retailer's websites. In the USA, it will be distributed by Notions Marketing. You can also go direct to the Craft Consortium's website here and sign up for an update on any future product launches.
Card 1

I trimmed down a piece of lovely green Christmas paper and attached it to the front of a 6" x 6" white card blank leaving a slim border around the edge. I die cut a large snowflake frame from white card and glued it flat into the centre of the card front.
I stamped the polar/gingerbread man onto the watercolour card in grey ink, then stamped it again onto masking paper which I cut out. I masked the polar bear/gingerbread man and stamped the middle tree. I stamped the tree again on masking paper and cut it out them masked the tree, then stamped the other 2 trees either side. With a pencil I drew a couple of snow lines to complete the scene and removed the masks.
The scene was coloured using distress re-inkers and pads, then die cut into a circle and matted onto a green scalloped circle. Glitter was added to the trees and snow line, then the finished topper was glued flat on top of the snowflake. To finish the card, die cut stars were placed in the sky, and a few enamel dots added to the bottom.
Distress Re-inkers & Pads
Polar Bear - Antique Linen, Brushed Corduroy, Spun Sugar / Gingerbread Man - Tea Dye, Vintage Photo, Prized Ribbon, Festive Berry/ Baubles - Festive Berry, Twisted Citron, Mowed Lawn, Rustic Wilderness, Tumbled Glass / Trees - Twisted Citron, Mowed Lawn, Rustic Wilderness, Weather Wood, Tumbled Glass / Snow - Weather Wood, Tumbled Glass
Other Things I Used:
6” x 6” White Card Blanks, Ecoline Watercolour Card, White & Green Card, Yellow Glitter Card, Moon & Stars Die Set (Taylored Expressions), 'It's The Most Wonderful Time Of The Year' Paper Pad (The Range), Snowflake Frame (Sweet Dixie), Stitched Scalloped Circle Dies (Creative Expression), Glue, Mask It Paper, Glitter, White Pen, Black Fineliner, Dove Grey Memento Ink, Black Hybrid Ink, Enamel Dots, Double Sided Tape, Glue
Card 2
What I Did
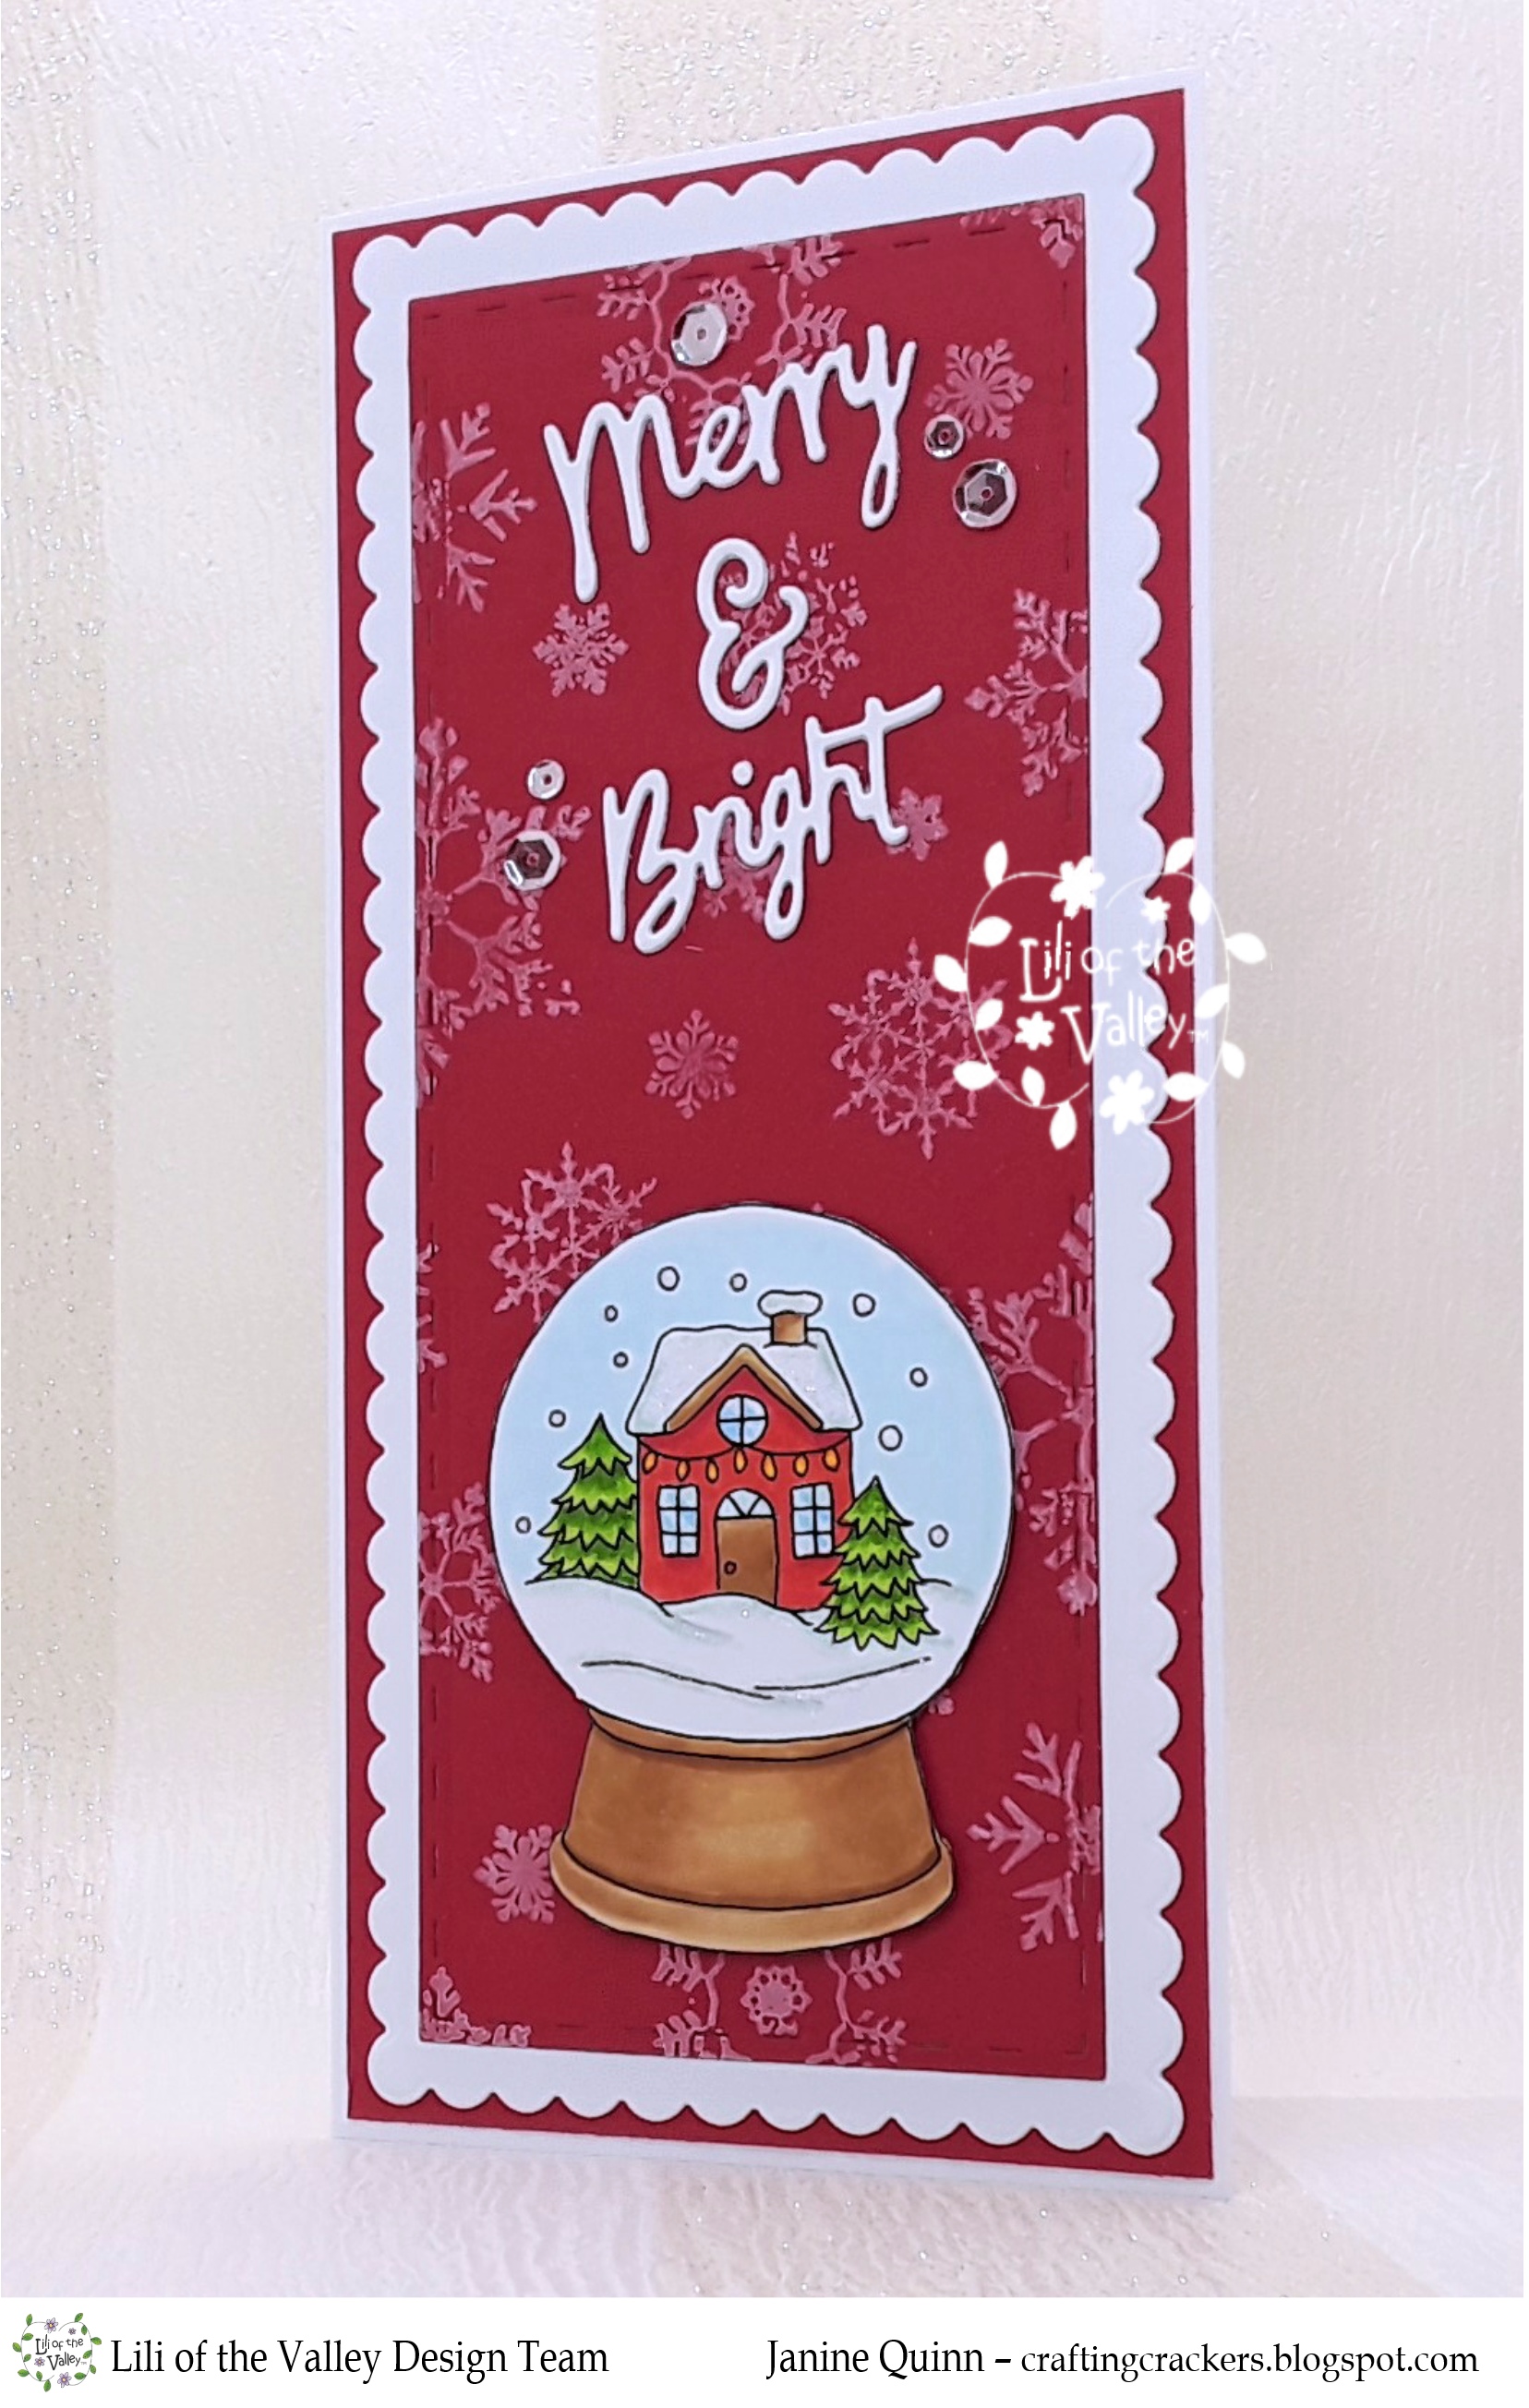
I trimmed down a piece of vibrant red Christmas paper and attached it to the front of a 6" x 6" white card blank leaving a slim border around the edge.
Next I stamped the snow-body onto the watercolour card in grey ink first, then stamped it again onto masking paper which I cut out. I masked the snow-body and then stamped the house over it. I stamped the house again on masking paper, and then cut this out and again placed it over the house on the card. I stamped the tree over the top of the house on the left hand side. With a pencil I drew a snow lines to complete the scene. I left the masks in place and painted around everything to create a sky, when it was dry I removed the masks.
The scene was coloured using distress re-inkers and pads, then die cut into a square. To add a little extra detail I added part of a snowflake, bunting and a pearl in the top right corner, and a mini sentiment in the bottom right. The finished topper was glued flat in the centre of the card. To finish the card, glitter was added to the trees, snow line and parts of the house.
Distress Re-inkers & Pads
House - Brushed Corduroy, Tea Dye, Walnut Stain, Weather Wood, Tumbled Glass, Broken China, Twisted Citron, Mowed Lawn, Saltwater Taffy, Festive Berry, Prized Ribbon / Tree - Twisted Citron, Mowed Lawn, Rustic Wilderness, Weather Wood, Tumbled Glass / Snow-body, Lollipop & Baubles - Hickory Smoke, Black Soot, Weather Wood, Twisted Citron, Mowed Lawn, Rustic Wilderness, Saltwater Taffy, Festive Berry, Aged Mahogany, Tea Dye, Vintage Photo, Tumbled Glass, Carved Pumpkin, Spiced Marmalade / Sky - Tumbled Glass / Snow - Weather Wood, Tumbled Glass
Other Things I Used:
6” x 6” White Card Blanks, Ecoline Watercolour Card, Red Card, Pink Glitter Card, 'I'll Be Gnome For Christmas Paper Pad (The Range), Mini Snowflake Dies (Lawn Fawn), Bunting Die (Dovecraft), Mini Merry Message Stamps (Mama Elephant), Stitched Scalloped Rectangle Dies (Creative Expression), Glue, Mask It Paper, Glitter, White Pen, Black Fineliner, Dove Grey Memento Ink, Black Hybrid Ink, Pearl, Double Sided Tape, Glue
Why not follow them on Facebook at - Craft Consortium Network, Craft Consortium Ltd or on their our Instagram page. Thank you so much for dropping by, don't forget to say hi :)
Please Note - I am guest designing for Craft Consortium on this occasion and I received their lovely products to play with and share with you; I do not receive any kind of payment for my samples or my participation. Thank you. x
I'll be back tomorrow with another card made using this fabulous collection, so see you then. TTFN!
Challenges entered:
Hugs
x Janine x