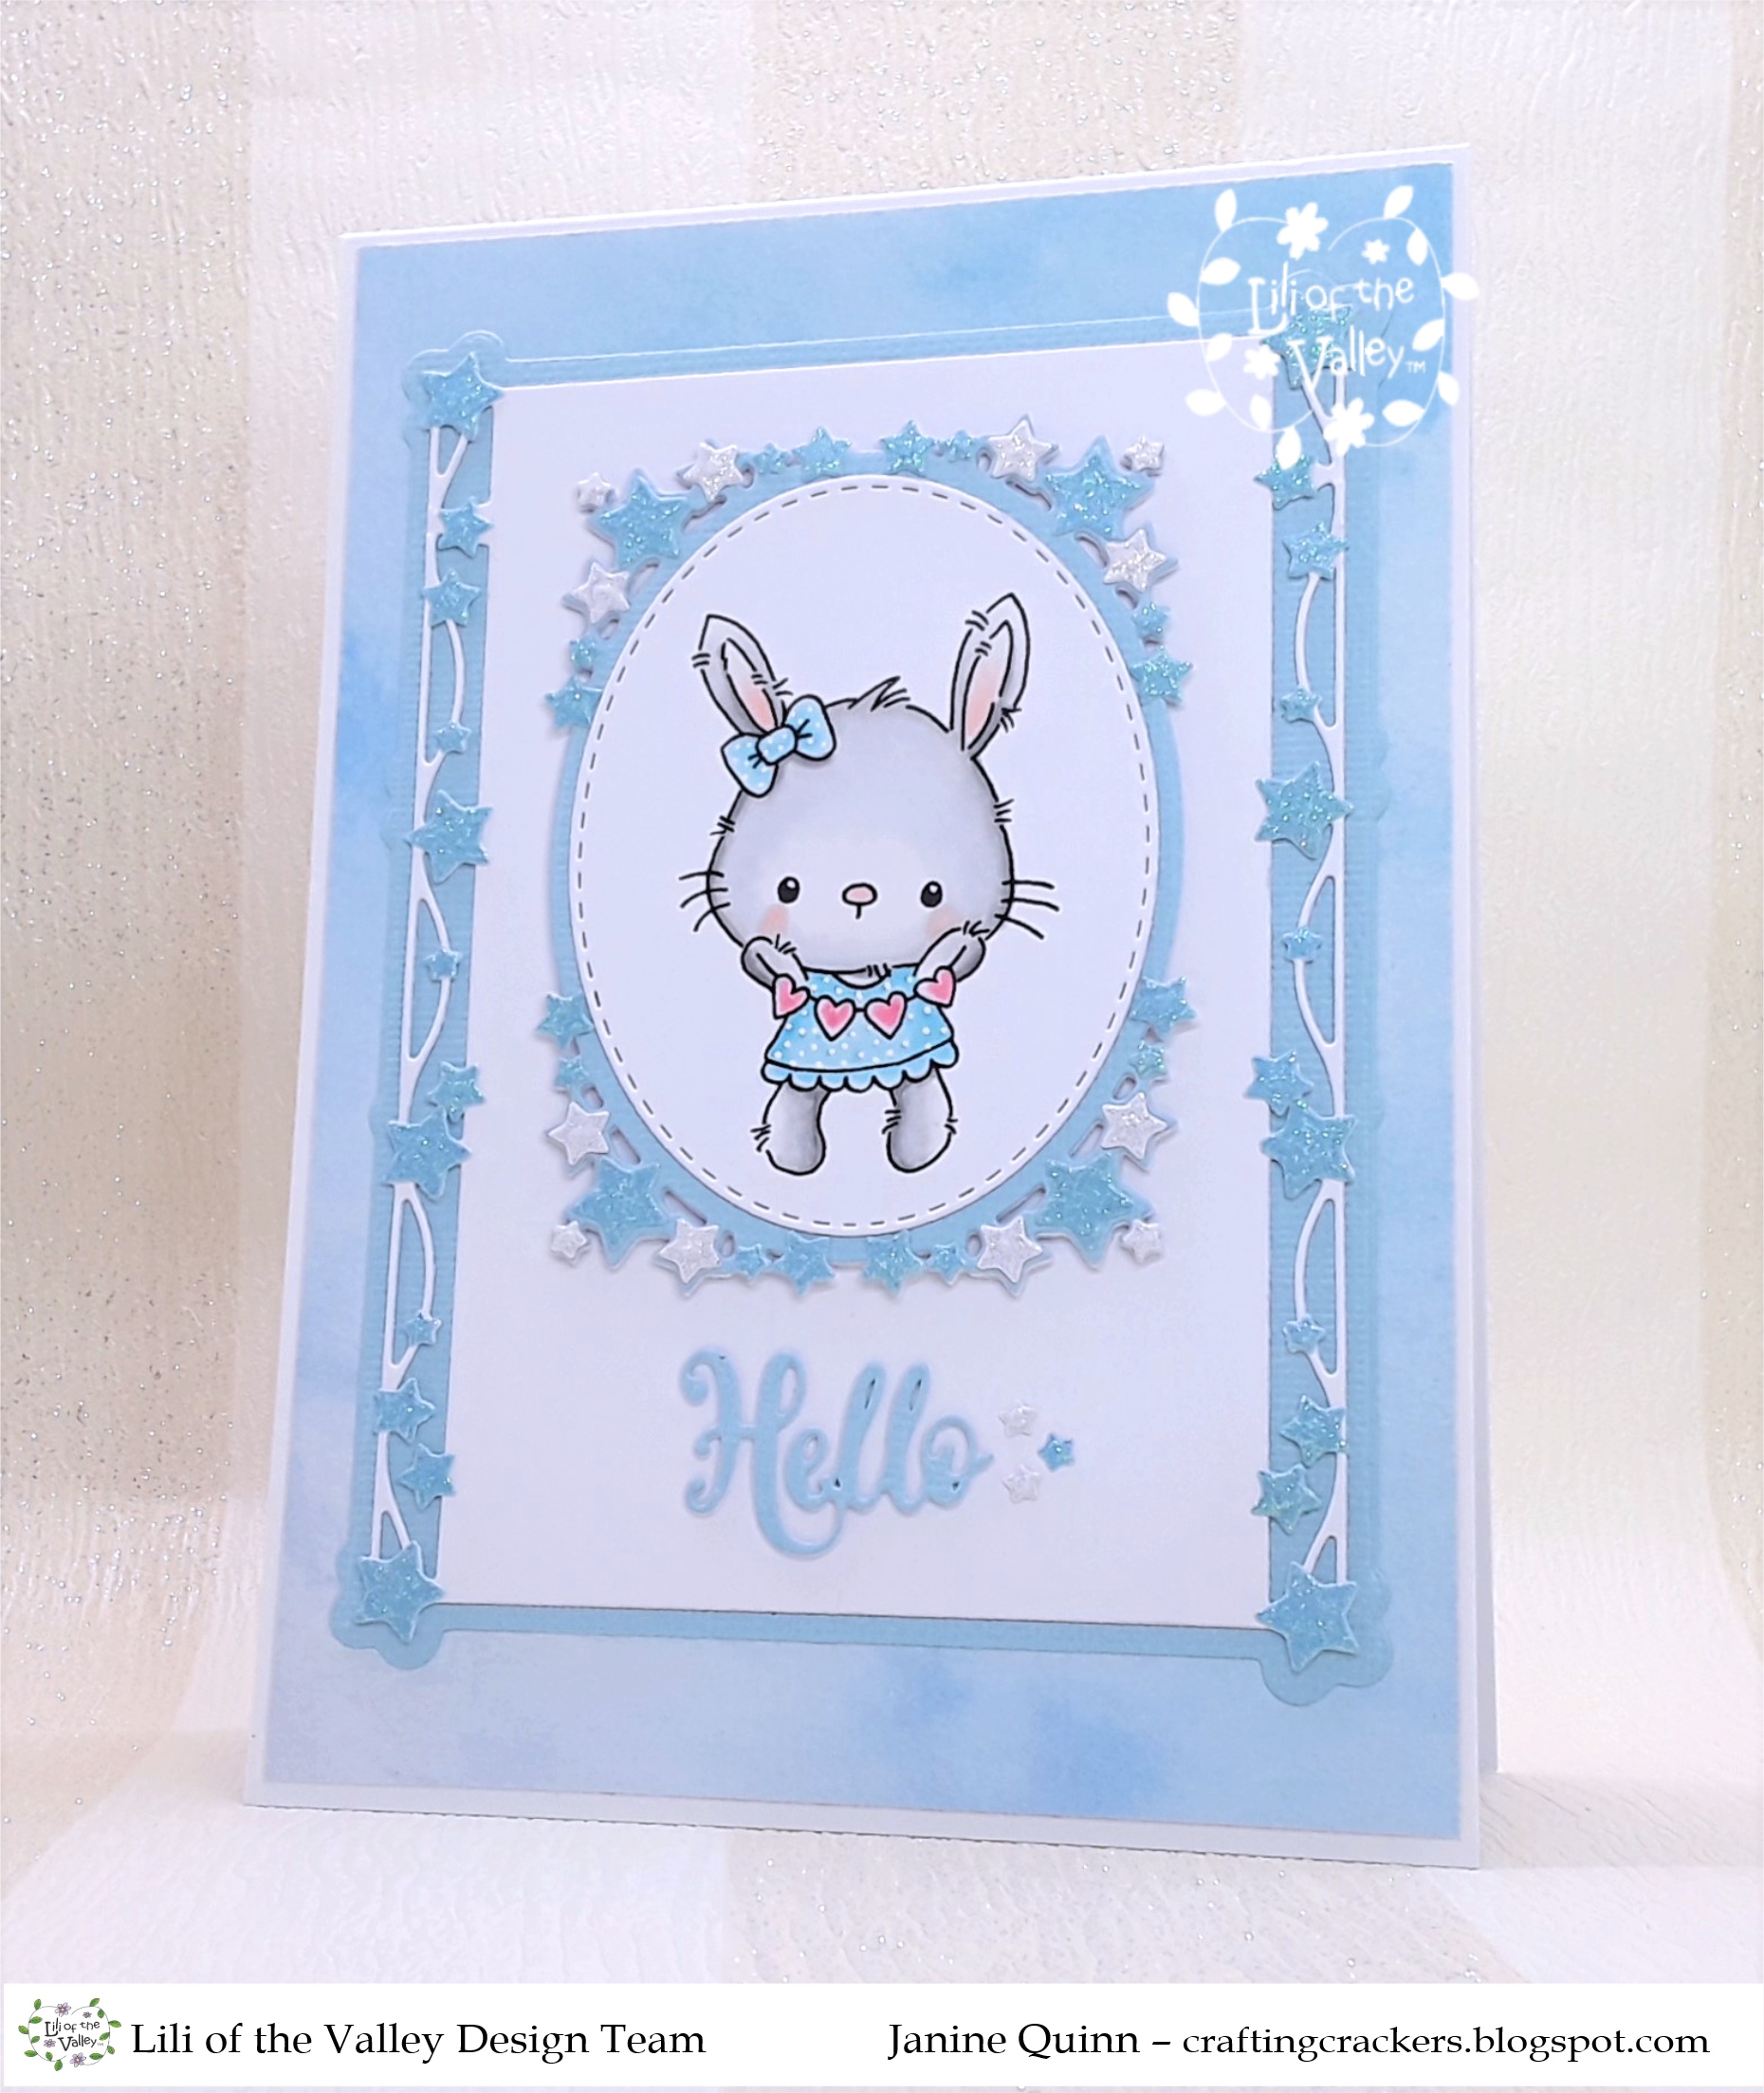
Monday 20 February 2023

Lili Of The Valley - Mindful Butterflies

 Good Morning

Great news!! Today is the launch of the new Spring polymer stamps from Lili Of The Valley, and they are all available in the store now. Yay!! To celebrate the launch day I'm sharing 2 cards made using the 'Mindful Butterflies' stamp set. The stamps are stunning and something slightly different for  LOTV. They are perfect for cards, book marks, journals, mixed media projects. For my samples I watercoloured them using distress re-inkers and shimmery paints. I hope you like them. 

For your information, here is the link to the LOTV Online  Shop and the LOTV Etsy Store to check out all the stampsFYI you can use both sites to purchase the stamps. 
Mindful Butterflies-1

Mindful Butterflies-2

Here's What I Did & Used
The process was the same for both card, just different coloured inks and paper were used.

I trimmed down a piece of patterned paper to cover the front of a white DL card blank. The butterfly/flower images was stamped onto watercolouring card, then die cut into a rectangle and coloured with distress re-inkers. To add extra detail the butterfly and circles were painted with gold and purple shimmery paint. Once the paint was dry glitter was applied to the circles. 

The finished picture was mounted onto a scalloped rectangle cut from co-ordinating glitter card, then attached to the card front. To finish the card, I added the small pearls at the top and bottom of the design.

Polymer Stamp Set:  
Polymer Stamp Set - Mindful Butterflies

Distress Re-inkers: Card 1- Spun Sugar, Saltwater Taffy, Victorian Velvet, Squeezed Lemonade, Spiced Marmalade, Twisted Citron, Mowed Lawn, Tumbled Glass, Prized Ribbon / Card 2 - Wilted Violet, Villainous Potion, Twisted Citron, Mowed Lawn, Rustic Wilderness

Other: DL White Card Blank, Royal Langton HP Watercolour  Card, Pink & Purple Glitter Card, Patterned Paper Pad (My Stash), 'Nested Scalloped Slim' Die Set (Lisa Horton Crafts), Gold Shimmer Paint, Clear Glitter, 'Passion Fruit' H2o Paints, Pearls, Double Sided Tape, Black Ink, Glue

If you wish to ask a question about any of my cards please leave me a message in the comment with your email address, otherwise I cannot contact you. Alternatively email me at jsnine.quinn@gmail.com

Or why not join us on social media at  'We Love Lili Of the Valley' Facebook Group run by the Design Team, the official Lili Of The Valley Facebook page and on Instagram.  We'd loved to see you.

Please Note - I am part of the Lili Of The Valley's Design Team and I receive their lovely images to play with and share with you; I do not receive any monetary reimbursement for my samples, however on occasion I receive a free stamp set as a 'thank you' gesture from the company for my advertisements or participation. I do, what I do for fun and relaxation. Thank you. x

Thank you so much for dropping by, and please don't forget to say hi :)  I'll be back soon with more sneaky peeks of the fabulous new LOTV Love stamps. TTFN

Hugs

x Janine x

Sunday 19 February 2023

Lili Of The Valley - Floral Frame

 Hello everyone

To celebrate the re-release of the beautiful 'Circular Floral frames' digi stamps from Lili Of The Valley, which have now been made into a polymer stamp set under the name 'Floral Frames'. I recreated a card I made in 2021 using the digital version, the polymer stamp is a little smaller than the one I originally used, but just as beautiful. The flower frame includes lots of different messages which can be stamped inside or outside the frame. I used Copic pens to colour with. I hope you like it.  

For your information, here is the link to the LOTV Online  Shop and the LOTV Etsy Store to check out all the stampsFYI you can use both sites to purchase the stamps. 


Here's What I Did
To start with I covered the front of a 6 x 6" card blank with some turquoise grungy paper leaving a slim border around the edge. I resized a digital sentiment I own and printed off onto colouring card. The beautiful flower frame was stamped over the top and coloured using Copic pens, apart from the flowers. The finished image was die cut using a decorative square die, and a piece of white card was glued to the back to give it extra support before adding funky foam. The topper was adhered to the centre of the card front. 

The floral frame was stamp out again onto colouring cardstock, and the flowers were coloured in and then fussy cut out. Glitter was added to each of the flowers, and added to the card front using foam pads directly over their counterpart on the main image. To finish the card I added several pearls around the frame.

Here's What I Used
A5 Polymer Stamp Set: Floral Frames
Digital Sentiment - Spring Mix Of 32 Sentiments

Copic Pens: Flowers & Berries - V000, V12, V15, V17, RV10, RV14, RV21, Y17, BG10, BG11, BG13 / Leaves - YG01, YG03, YG17, YG23, YG63, YG67

Other: 6" x 6" White Card Blank, Make It Colour Blending Card, Decorative Nested Square Dies (Craft Buddy), White Card, Pearls, Light Tones - Grunge Paper Pad (Craft Consortium), Glitter, Glue, Black Ink, Double Sided Tape, Funky Foam, Foam Pads

Or why not join us on social media at  'We Love Lili Of the Valley' Facebook Group run by the Design Team, the official Lili Of The Valley Facebook page and on Instagram. We'd loved to see you!

Please Note 
Thank you so much for dropping by, and please don't forget to say hi :)  I'll be back soon with more sneaky peeks of the fabulous new LOTV Spring stamps. TTFN

Challenges entered:

Hugs

x Janine x

Saturday 11 February 2023

Lili Of The Valley - Spring Rabbits #1

Good afternoon

Today I have a sneak peak of a sweet little bunnie card using one of the new Lili Of The Valley springtime polymer stamps sets. All the collections launch on Create & Craft TV on February 20th (time tbc), and then in the LOTV Etsy store soon after. Again this is another very cute stamp set. I 'Spring Rabbits' stamp set and Copic pens to colour it up. I kept my colours and card quite CAS and stuck to 3 colours grey, blue and pink. This set is perfect for so many occasions, you will love them. I hope you like it. FYI I still have a few cards to share with you, but they're totally different, so I'll see you again tomorrow.

For your information, here is the link to the LOTV Online  Shop and the LOTV Etsy Store to check out all the stampsFYI you can use both sites to purchase the stamps. 


Here's What I Did & Used
I trimmed down a piece of soft blue patterned paper to fit a 5" x 7" top fold card blank, leaving a slim border around the edge. I glued a blue die cut filigree frame flat into the centre of the card front, then added the white die cut overlay. I added little blue die cut pink around the frame. 

The Easter bunnie was stamped onto colouring card, die cut into an oval and coloured with Copic pens. Glitter was applied to the hearts and white dots added to her dress. The finished picture was mounted onto a die cut oval frame, then funky foam was adhered to the back. Different sized stars die cut from white and blue glitter card were glued around the oval frame. The completed topper was mounted into the centre of the white filigree frame. 

To finish the card, I added the die cut word' Hello' plus a few small stars cut from glitter card below the topper. 

Polymer Stamp Set:  
Polymer Stamp Set - Spring Rabbits

Copic Pens: Bunnie - C0, N0, N2, N4, R000, R30, 0 / Dress & Bow - B000, B00, B01 / Heart String - RV10, RV13 

Other: 5" x 7" Top Fold White Card Blank, Make It Colour Card, White & Blue Card, Blue & White Glitter Card 'Pastel Watercolours' Paper Pad (The Works, 'Celebration' Die (Katy Sue Designs), 'Hello & Hi' Die Set (Creative Expressions), Clear Glitter, White pen,  Double Sided Tape, Funky Foam, Black Ink, Glue

If you wish to ask a question about any of my cards please leave me a message in the comment with your email address, otherwise I cannot contact you. Alternatively email me at jsnine.quinn@gmail.com

Or why not join us on social media at  'We Love Lili Of the Valley' Facebook Group run by the Design Team, the official Lili Of The Valley Facebook page and on Instagram.  We'd loved to see you.

Please Note - I am part of the Lili Of The Valley's Design Team and I receive their lovely images to play with and share with you; I do not receive any monetary reimbursement for my samples, however on occasion I receive a free stamp set as a thank you gesture for my advertisements or participation. I do, what I do for fun and relaxation. Thank you. x

Thank you so much for dropping by, and please don't forget to say hi :)  I'll be back soon with more sneaky peeks of the fabulous new LOTV Love stamps. TTFN

Hugs

x Janine x

Thursday 9 February 2023

Lili Of The Valley - Teacup Bunnies #1

Good morning

I have a cup full of cuteness for you today. For my sneak peak of the new Lili Of The Valley springtime polymer stamps I used one of the gorgeous 'Teacup Bunnie' polymer stamps. as previously mentioned the stamps launch on Create & Craft TV on February 20th (time tbc), and then in the LOTV Etsy store soon after Isn't it adorable! I used Copic pens to colour her up and kept the colours very clean and pretty. I hope you like it. I'll be back tomorrow with more LOTV inspiration. 

For your information, here is the link to the LOTV Online  Shop and the LOTV Etsy Store to check out all the stampsFYI you can use both sites to purchase the stamps. 


Here's What I Did & Used
I trimmed down a piece of pretty pink patterned paper to fit a 6" x 6" scalloped card blank, leaving a slim border around the edge. I glued a white die cut filigree frame flat into the centre of the card front, then added a little pink glitter to the points.

I typed up the 'Hello Spring' sentiment and printed it directly onto colouring card stock, then die cut it into a circle. Next I stamped the teacup bunnie alongside the sentiment and lightly coloured it with Copic pens.

The completed scene was attached to a pink frilly frame, and funky foam was added to the back. The completed topper was mounted into the centre of the white filigree frame. To finish the card, I added a few pearls to the bottom of the card the sentiment and a little glitter to the cup. 

Polymer Stamp Set:  
Polymer Stamp Set - Tea Cup Bunnies

Copic Pens: Bunnie - C0, C2, N0, R000, R20, R30 / Cup & Bow - RV02, RV10, RV13, RV14

Other: 6" x 6" Scalloped White Card Blank, Make It Colour Card, Pink & White Card, 'yesterday' paper pad (Lemoncraft), Stitched Circle Die (Crealies), New York - Collection - Union Square Die Sets (Creative Expressions), Stately Circles Dies (Spellbinders), Pearls, Pink & Clear Glitter, Double Sided Tape, Funky Foam, Black Ink, Glue

If you wish to ask a question about any of my cards please leave me a message in the comment with your email address, otherwise I cannot contact you. Alternatively email me at jsnine.quinn@gmail.com

Or why not join us on social media at  'We Love Lili Of the Valley' Facebook Group run by the Design Team, the official Lili Of The Valley Facebook page and on Instagram.  We'd loved to see you.

Please Note - I am part of the Lili Of The Valley's Design Team and I receive their lovely images to play with and share with you; I do not receive any monetary reimbursement for my samples, however on occasion I receive a free stamp set as a thank you gesture for my advertisements or participation. I do, what I do for fun and relaxation. Thank you. x

Thank you so much for dropping by, and please don't forget to say hi :)  I'll be back soon with more sneaky peeks of the fabulous new LOTV Love stamps. TTFN

Hugs

x Janine x

Wednesday 8 February 2023

Lili Of The Valley - Flower Gnomes #2

Evening Everyone

Well it's another day of wonderful sneak peeks from the new Lili Of The Valley springtime polymer stamps. If you've been following my blog for the past few days, you'll know that the new stamp sets launch on Create & Craft TV on February 20th (time tbc), and then in the LOTV Etsy store soon after (see link below). Lili Of The Valley have also created other themed A5 polymer stamps sets, this time using older digital images. To find them click onto polymer stamps from the category list or click this link - A5 polymer stamps. Once the full launch has taken place I will add the respective links to the individual stamp sets for you. 

FYI Lili Of The Valley are in the process of creating a totally separate web shop purely for their polymer stamp collections, so watch this space. Anyhow, for today's card I have chosen to use another of the cute Flower Gnomes and one of the free digital sentiments. I decided to create a CAS card and used Copic pens to colour him. I hope you like it. I'll be back tomorrow with more LOTV inspiration. 

For your information, here is the link to the LOTV Online  Shop and the LOTV Etsy Store to check out all the stampsFYI you can use both sites to purchase the stamps. 


Here's What I Did & Used
I trimmed down a piece of blue patterned paper to fit a 6" x 6" card blank, leaving a slim border around the edge. I added a white die cut scalloped frame flat into the centre of the card front.

Next I inserted one of the free bold outline sentiments and a smaller companion words into my software and added colour. The sentiment was die cut into an indented square and the gnome was stamped to the left of it, then colour with Copic pens. White dots were added to some of the lettering using a white pens.

The completed scene was attached to a blue indented square mat and funky foam was added to the back to give dimension. The completed topper was mounted onto the centre of the white scalloped frame. To finish the card, I added a few pearls around the sentiment and a little glitter to the butterfly. 

Polymer Stamp Set:  
Polymer Stamp SetFlower Gnomes
Free DigitalSpring Sentiments

Copic Pens: Skin - E00, E01, E02 / Beard - W1, W3, W5 / Hat - B0000, B06, B12, B14, B18 / Boots - E31, E33, E35, E37 / Plant Pot - E08, E09, E13/ Flower - B06, B12, B18, Y17, Y38, YGO1, YG03, YG17 / Butterfly - RV02, B00 / Grass - YGO1, YG03, YG17 

Other: 6" x 6" White Card Blank, Make It Colour Card, Blue & White Card, Stitched Scalloped Square Die Set (Creative Expression), Stitched Indented Square & Indented Square Die Sets (Elizabeth Craft Designs), White Pen, Pearls, Glitter, Double Sided Tape, Funky Foam, Black Ink, Glue

If you wish to ask a question about any of my cards please leave me a message in the comment with your email address, otherwise I cannot contact you. Alternatively email me at jsnine.quinn@gmail.com

Or why not join us on social media at  'We Love Lili Of the Valley' Facebook Group run by the Design Team, the official Lili Of The Valley Facebook page and on Instagram.  We'd loved to see you.

Please Note - I am part of the Lili Of The Valley's Design Team and I receive their lovely images to play with and share with you; I do not receive any monetary reimbursement for my samples, however on occasion I receive a free stamp set as a thank you gesture for my advertisements or participation. I do, what I do for fun and relaxation. Thank you. x

Thank you so much for dropping by, and please don't forget to say hi :)  I'll be back soon with more sneaky peeks of the fabulous new LOTV Love stamps. TTFN

Hugs

x Janine x


Tuesday 7 February 2023

Lili Of The Valley - Magical Florals

Afternoon Everyone

I'm back with more sneak peeks of the new Lili Of The Valley springtime polymer stamps. As I mentioned yesterday the new stamps will be launching on Create & Craft TV on February 20th (time tbc), and then in their Etsy store soon after. The new designs include flower gnomes, florals, wreaths and Easter animals. In addition to the new brand stamps there is a lot of new sets all created from their digital counterparts, you're bound to spot a favourite set. To check them out go to the new stamp collections and click onto polymer stamps from the category list or click this link - A5 polymer stamps. Once the full launch has taken place I will add the respective links to the individual stamp sets for you. 

For today's card I have used one of the flower wreaths and a couple of sentiments from the 'Magical Florals' set. I used Copic pens to colour the flowers; many of which I coloured up again, fussy cut out and decoupaged. I adore the floral wreaths, they're so beautiful and suitable for lots of different occasions. I hope you like it. I'll be back tomorrow with more LOTV inspiration. 

For your information, here is the link to the LOTV Online  Shop and the LOTV Etsy Store to check out all the stampsFYI you can use both sites to purchase the stamps. 


Here's What I Did
To start with I covered the front of a 6 x 6" card blank with some pretty pink paper leaving a slim border around the edge. 

The wreath and sentiment was stamped onto colouring cardstock and die cut with a decorative circle die. All the leaves and small flowers (lilac & pink ones) were coloured in using Copic pens. Funky foam was added to the back of the completed topper to give it some height, and then attached to the centre of the card. 

The wreath was stamped out again onto colouring cardstock, then only the mid and large size flowers (pink & aqua ones) were coloured in. The flowers were fussy cut out and added to the card front directly over their counterpart on the main image using shallow foam pads. To finish the card I added a little glitter to the flowers along with a few pearls around the wreath.

Here's What I Used
Polymer Stamp:  Magical Florals

Copic Pens: Pink Flowers - RV000, RV02, RV06, RV10, RV13 / Lilac Flowers - V000, V01, V04, V05, V06, Y02, Y17 / Blue Flowers - BG10, BG11, BG13, BG49 / Leaves - YG00, YG01, YG03, YG17

Other: 6" x 6" White Card Blank, Make It Colour Blending Card, White Card, Decorative Nested Circle Dies (Craft Buddy), Pearls, 'Pastel Dreams' Paper Pad (LOTV), Glitter, Glue, Double Sided Tape, Funky Foam, Foam Pads


If you wish to ask a question about any of my cards please leave me a message in the comment with your email address, otherwise I cannot contact you. Alternatively email me at jsnine.quinn@gmail.com

Or why not join us on social media at  'We Love Lili Of the Valley' Facebook Group run by the Design Team, the official Lili Of The Valley Facebook page and on Instagram.  We'd loved to see you.

Please Note - I am part of the Lili Of The Valley's Design Team and I receive their lovely images to play with and share with you; I do not receive any monetary reimbursement for my samples, however on occasion I receive a free stamp set as a thank you gesture for my advertisements or participation. I do, what I do for fun and relaxation. Thank you. x

Thank you so much for dropping by, and please don't forget to say hi :)  I'll be back soon with more sneaky peeks of the fabulous new LOTV Love stamps. TTFN

Hugs

x Janine x

Monday 6 February 2023

Lili Of The Valley - Flower Gnome #1

Afternoon Everyone

This week I'm sharing some sneak peeks of lovely springtime Lili Of The Valley loveliness with you. The new polymer stamps will be launching on Create & Craft on February 20th (time tbc) and then in their Etsy store. There will be brand new designs launching such as flower gnomes, florals, Easter cuteness and more. To keep you going there are lots of new set which have just been converted into polymer stamps, you will recognise them as they're also digi stamps. To check all the new stamp collections click onto A5 polymer stamps from the category list. Once the full launch has taken place I will add the individual links to the products for you. 

To set the launch off I'm sharing my first card using one of the 'Flower Gnomes' and the sentiment which will be available as a one of several free digital downloads (uncoloured text). I used Copic pens to colour the little guy in, and added colour to the sentiment with lots of glitter. I hope you like it. I'll be back tomorrow with more LOTV inspiration. 

For your information, here is the link to the LOTV Online  Shop and the LOTV Etsy Store to check out all the stamps. FYI you can use both sites to purchase the stamps. 


Here's What I Did & Used
First I inserted one of the free bold outline sentiments and a smaller companion words into my software and added colour. The sentiment was die cut into a rectangle and the gnome was stamped to the left of it, then colour with Copic pens. Dots were added to some of the lettering using a white pens, and clear glitter was added to the rest.  

The completed scene was attached to a pink scalloped rectangle frame and mounted flat onto the front of a DL card blank. To finish the card, I added several pearls around the sentiment. 

Polymer Stamp Set:  
Polymer Stamp Set - Flower Gnomes
Free Digital - Spring Sentiments

Copic Pens: Skin - E00, E01, E02 / Beard - W1, W3, W5 / Hat - RV10, RV13, RV14, RV29 / Clothing - YR02, YR20, RV10 / Boots - E31, E33 / Flower - RV10, RV13, RV21, RV29, YGO1, YG03, YG17 / Grass - YG17 

Other: DL White Card Blank, Make It Colour Card, Pink Card, Nested Scalloped Slim Die Set (Lisa Horton Crafts), White Pen, Pearls, Glitter, Double Sided Tape, Black Ink, Glue

If you wish to ask a question about any of my cards please leave me a message in the comment with your email address, otherwise I cannot contact you. Alternatively email me at jsnine.quinn@gmail.com

Or why not join us on social media at  'We Love Lili Of the Valley' Facebook Group run by the Design Team, the official Lili Of The Valley Facebook page and on Instagram.  We'd loved to see you.

Please Note - I am part of the Lili Of The Valley's Design Team and I receive their lovely images to play with and share with you; I do not receive any monetary reimbursement for my samples, however on occasion I receive a free stamp set as a thank you gesture for my advertisements or participation. I do, what I do for fun and relaxation. Thank you. x

Thank you so much for dropping by, and please don't forget to say hi :)  I'll be back soon with more sneaky peeks of the fabulous new LOTV Love stamps. TTFN

Hugs

x Janine x